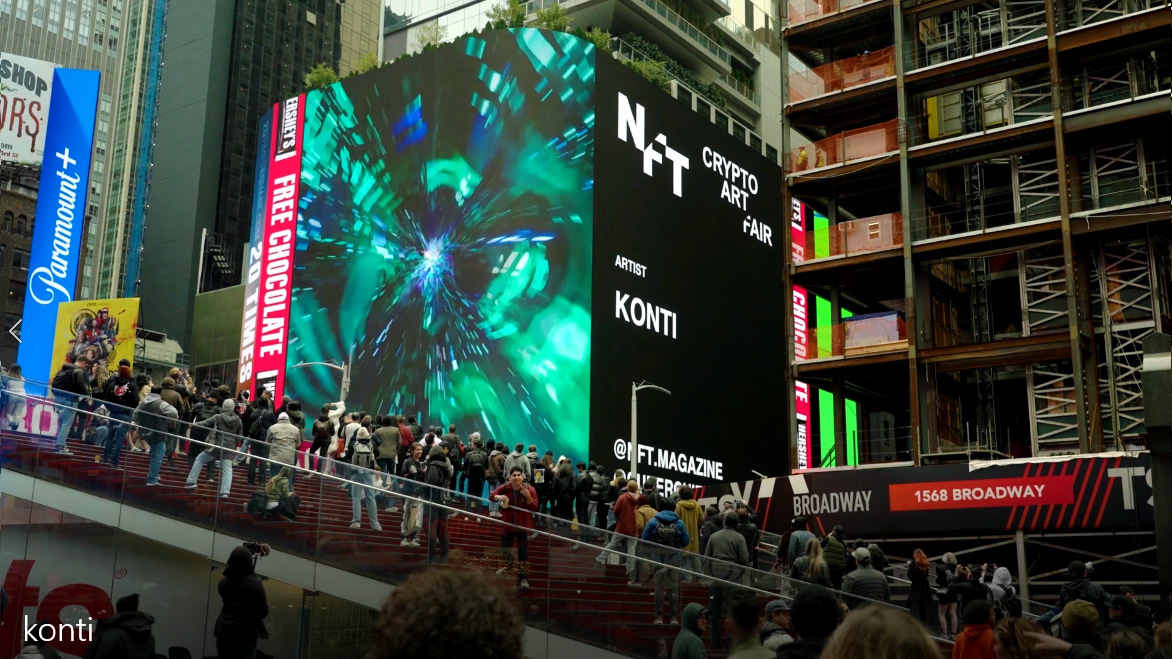
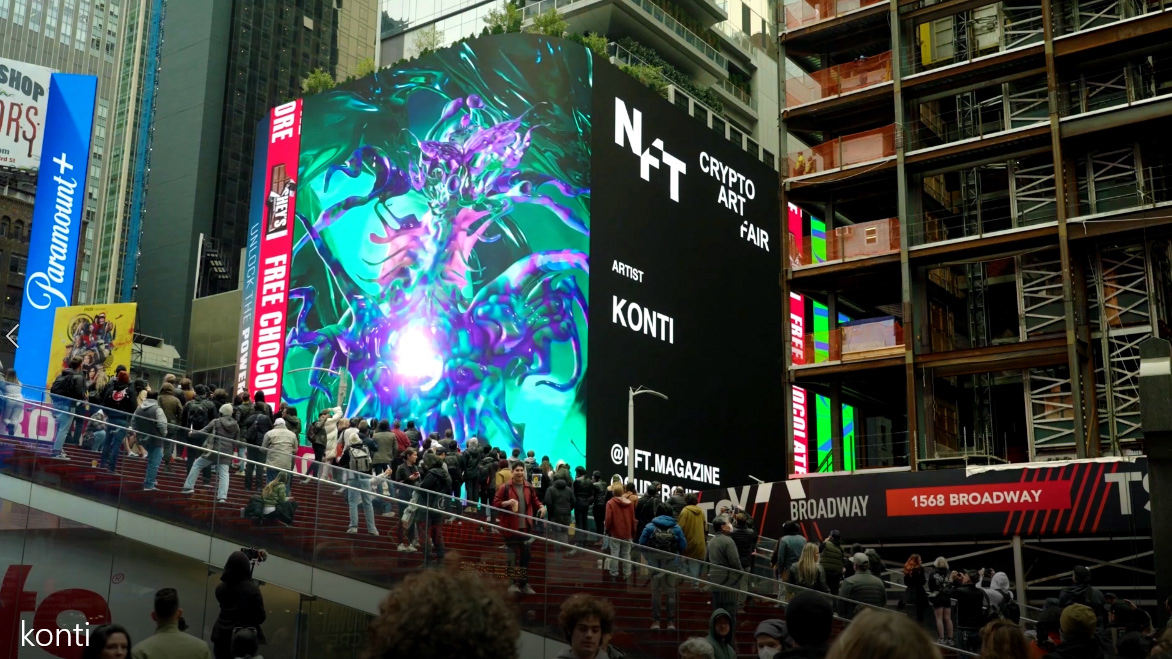
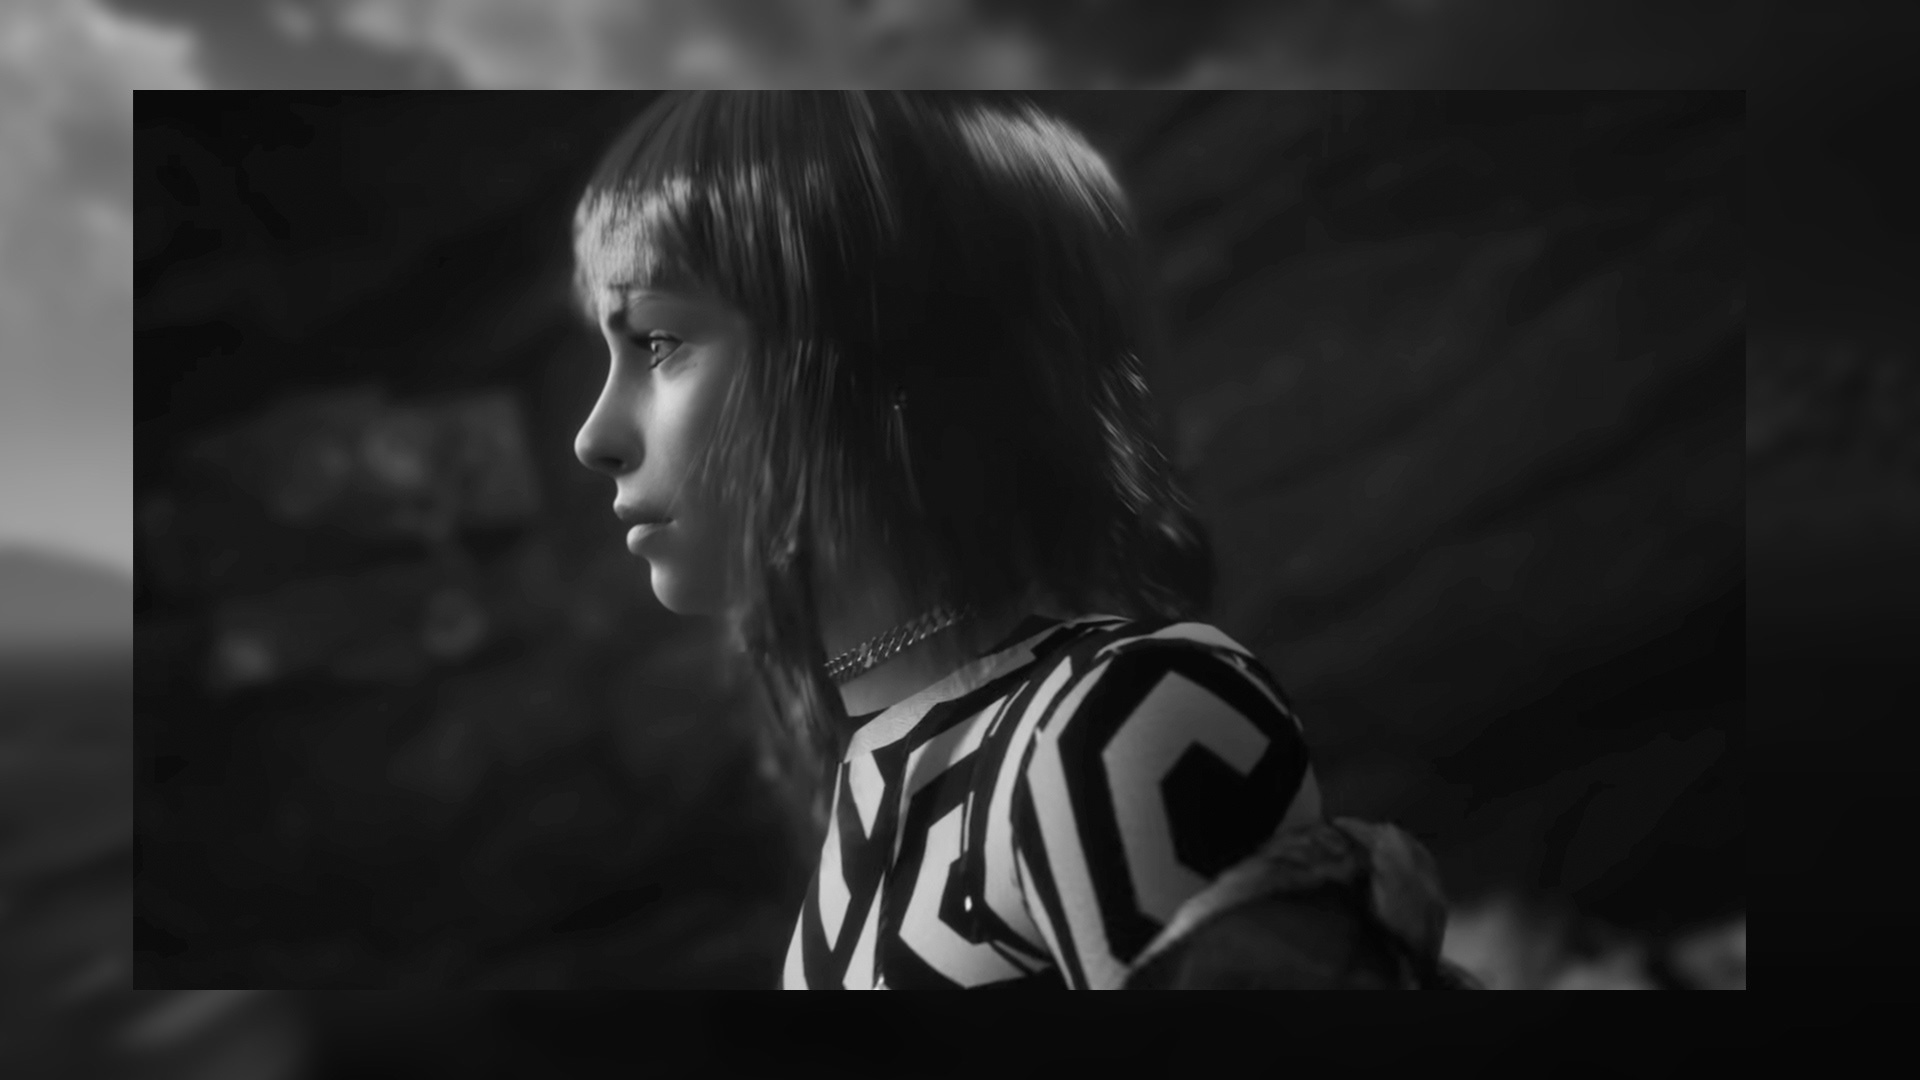
Hey there! Let me tell you about my latest obsession - this incredible accessory that I recently stumbled upon. It's an 11-second short loop video that's been making waves on Instagram, and I just can't get enough of it!
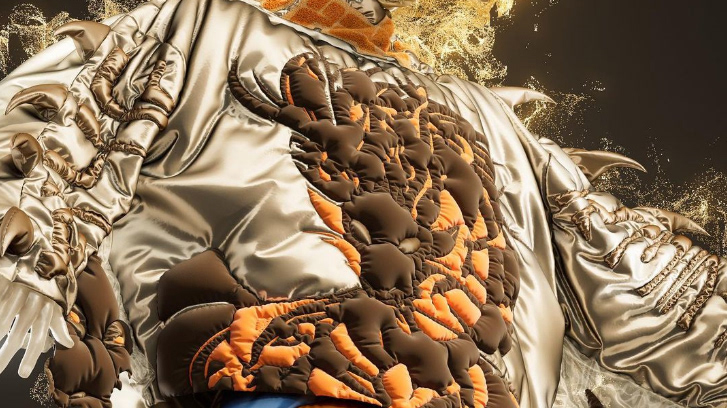
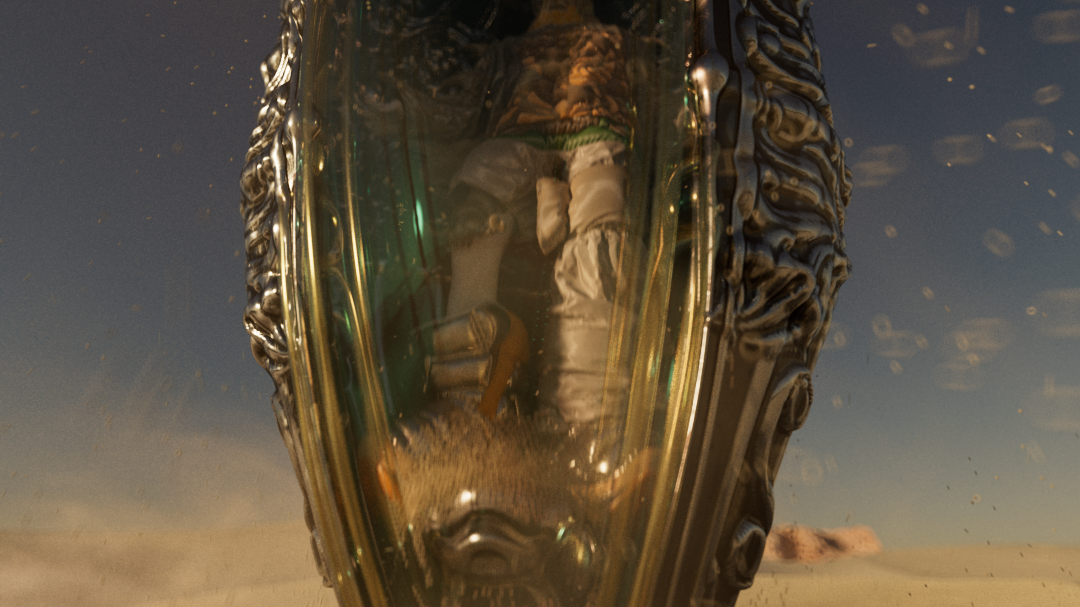
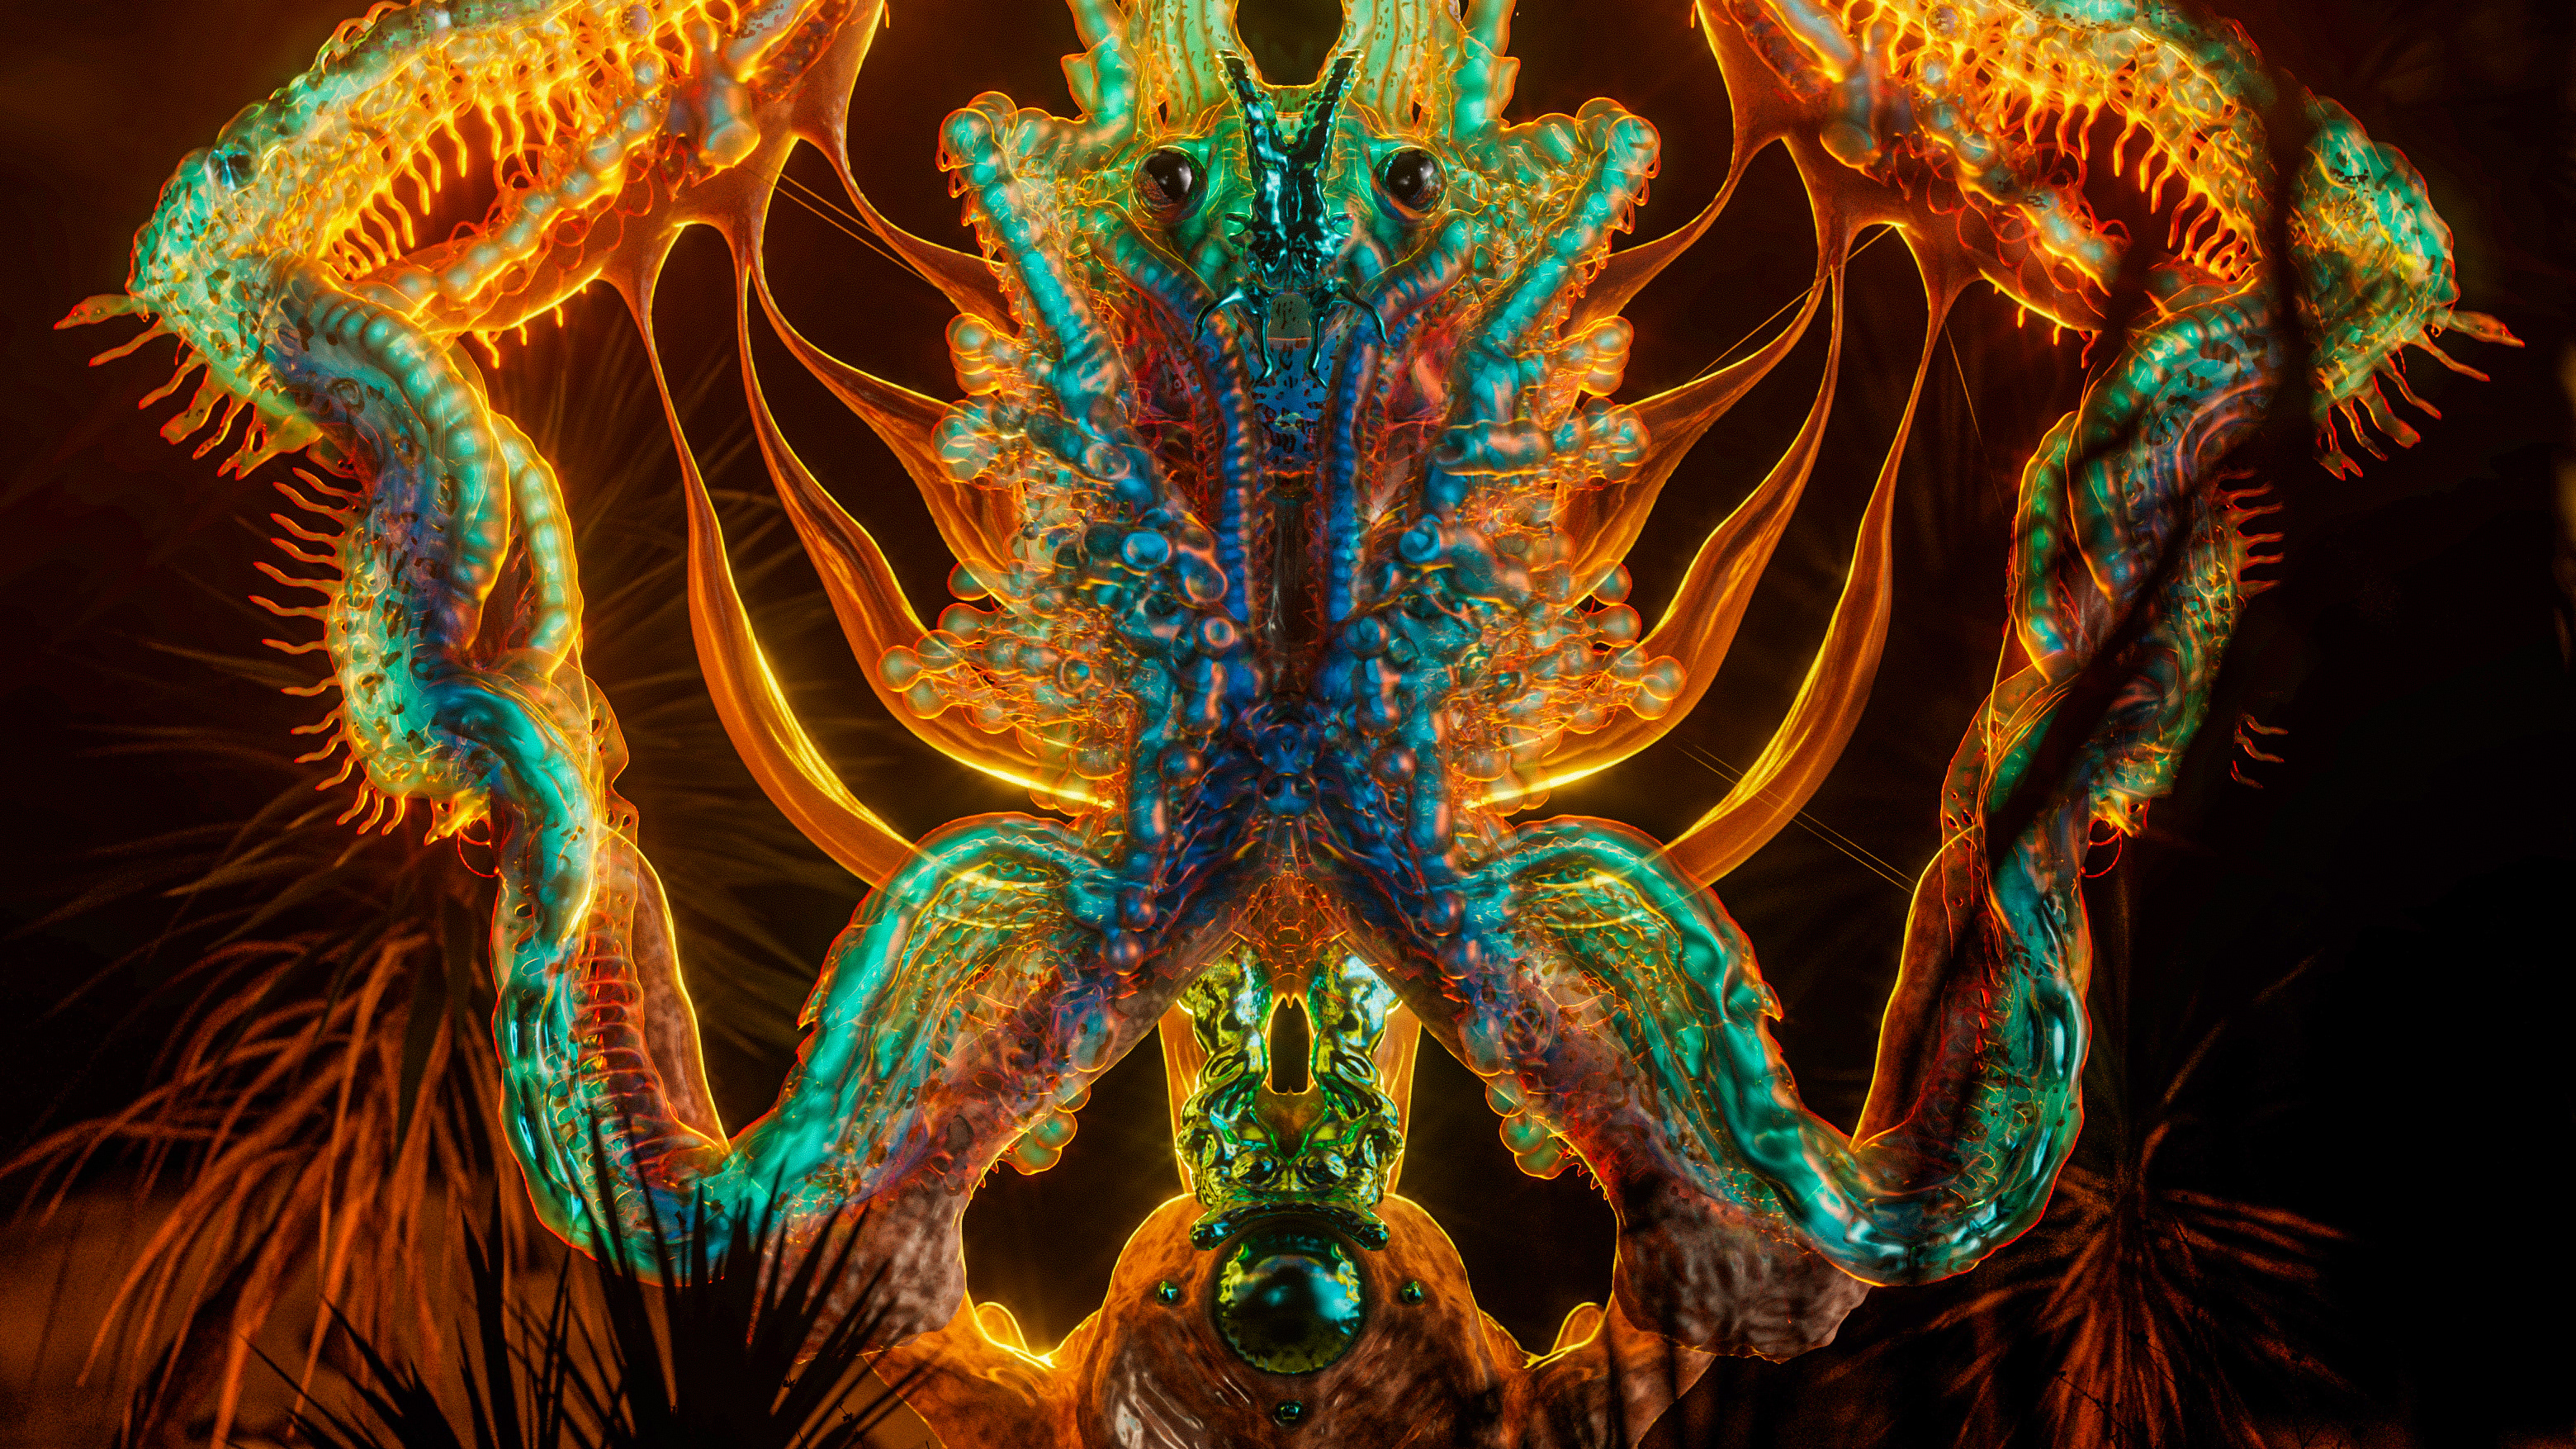
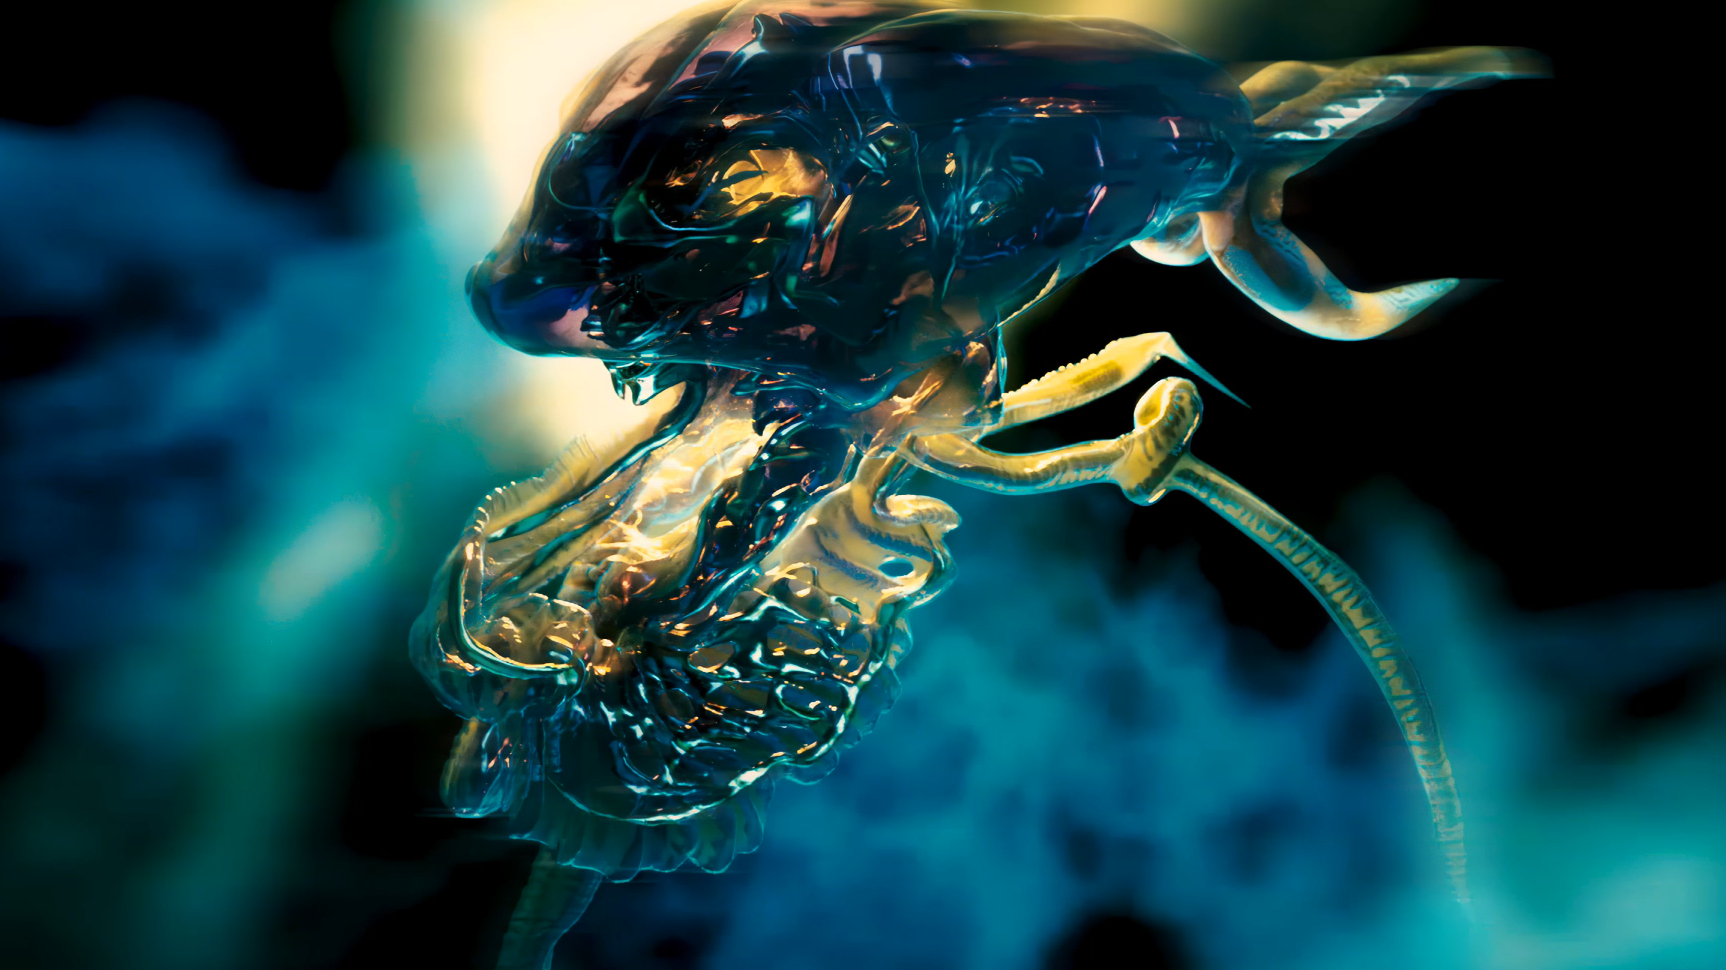
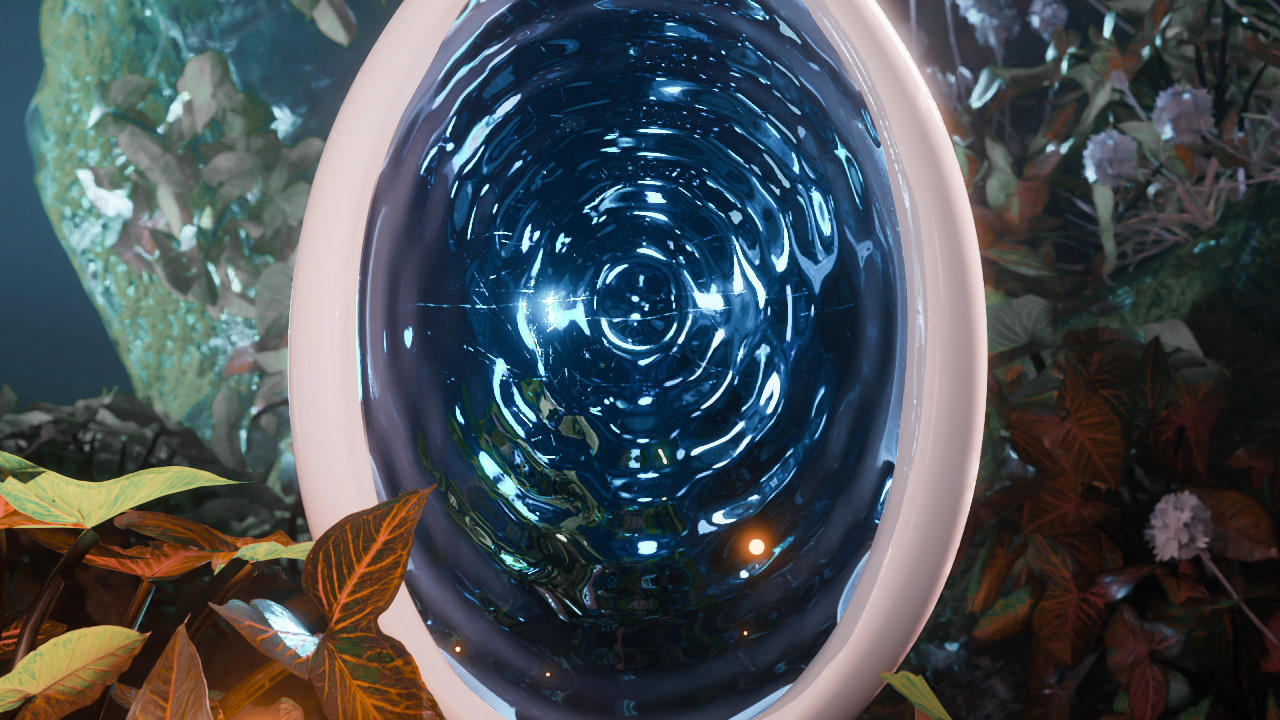
The video showcases the stunning details and intricate features of this accessory, which can be worn as a necklace or an earring. As I watch it, I can't help but feel captivated by its shimmering beauty and versatility. The way it glimmers and shines in the light is truly mesmerizing.
Get ready to feast your eyes on the real deal! This is the actual product that was up for grabs for a limited time only. As you take a closer look, you'll notice the fine craftsmanship and attention to detail that went into creating this accessory.
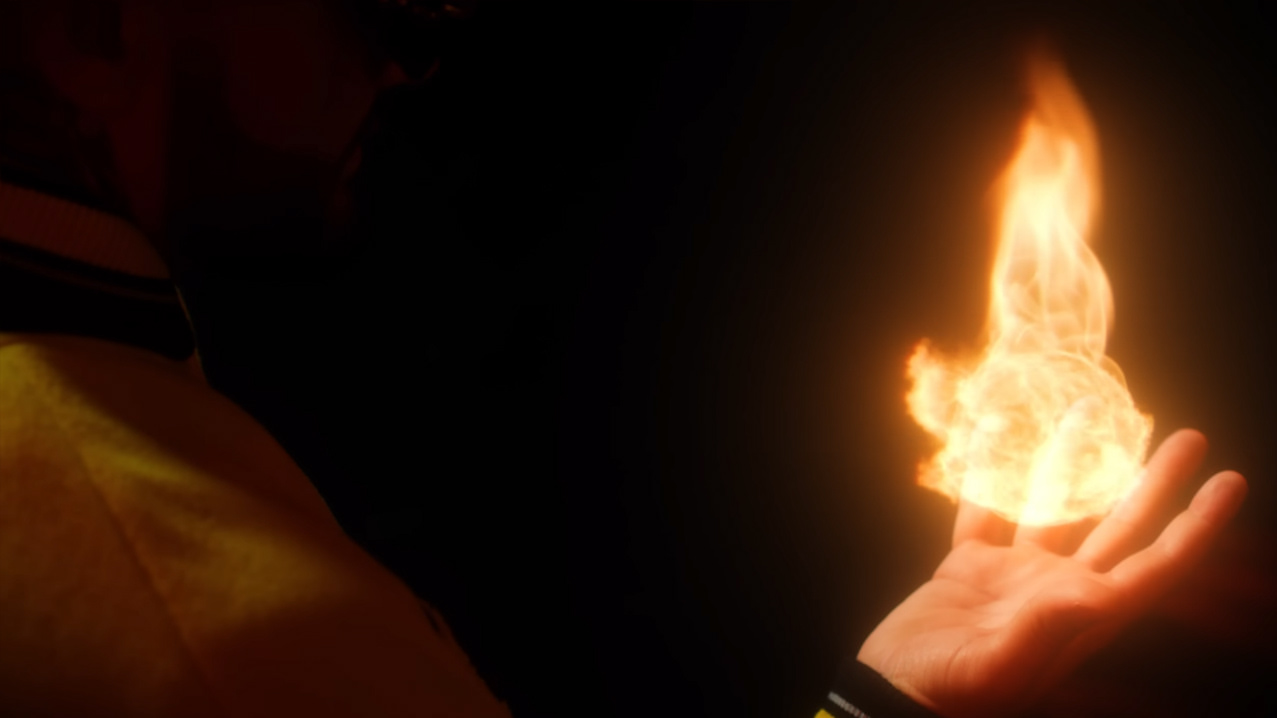
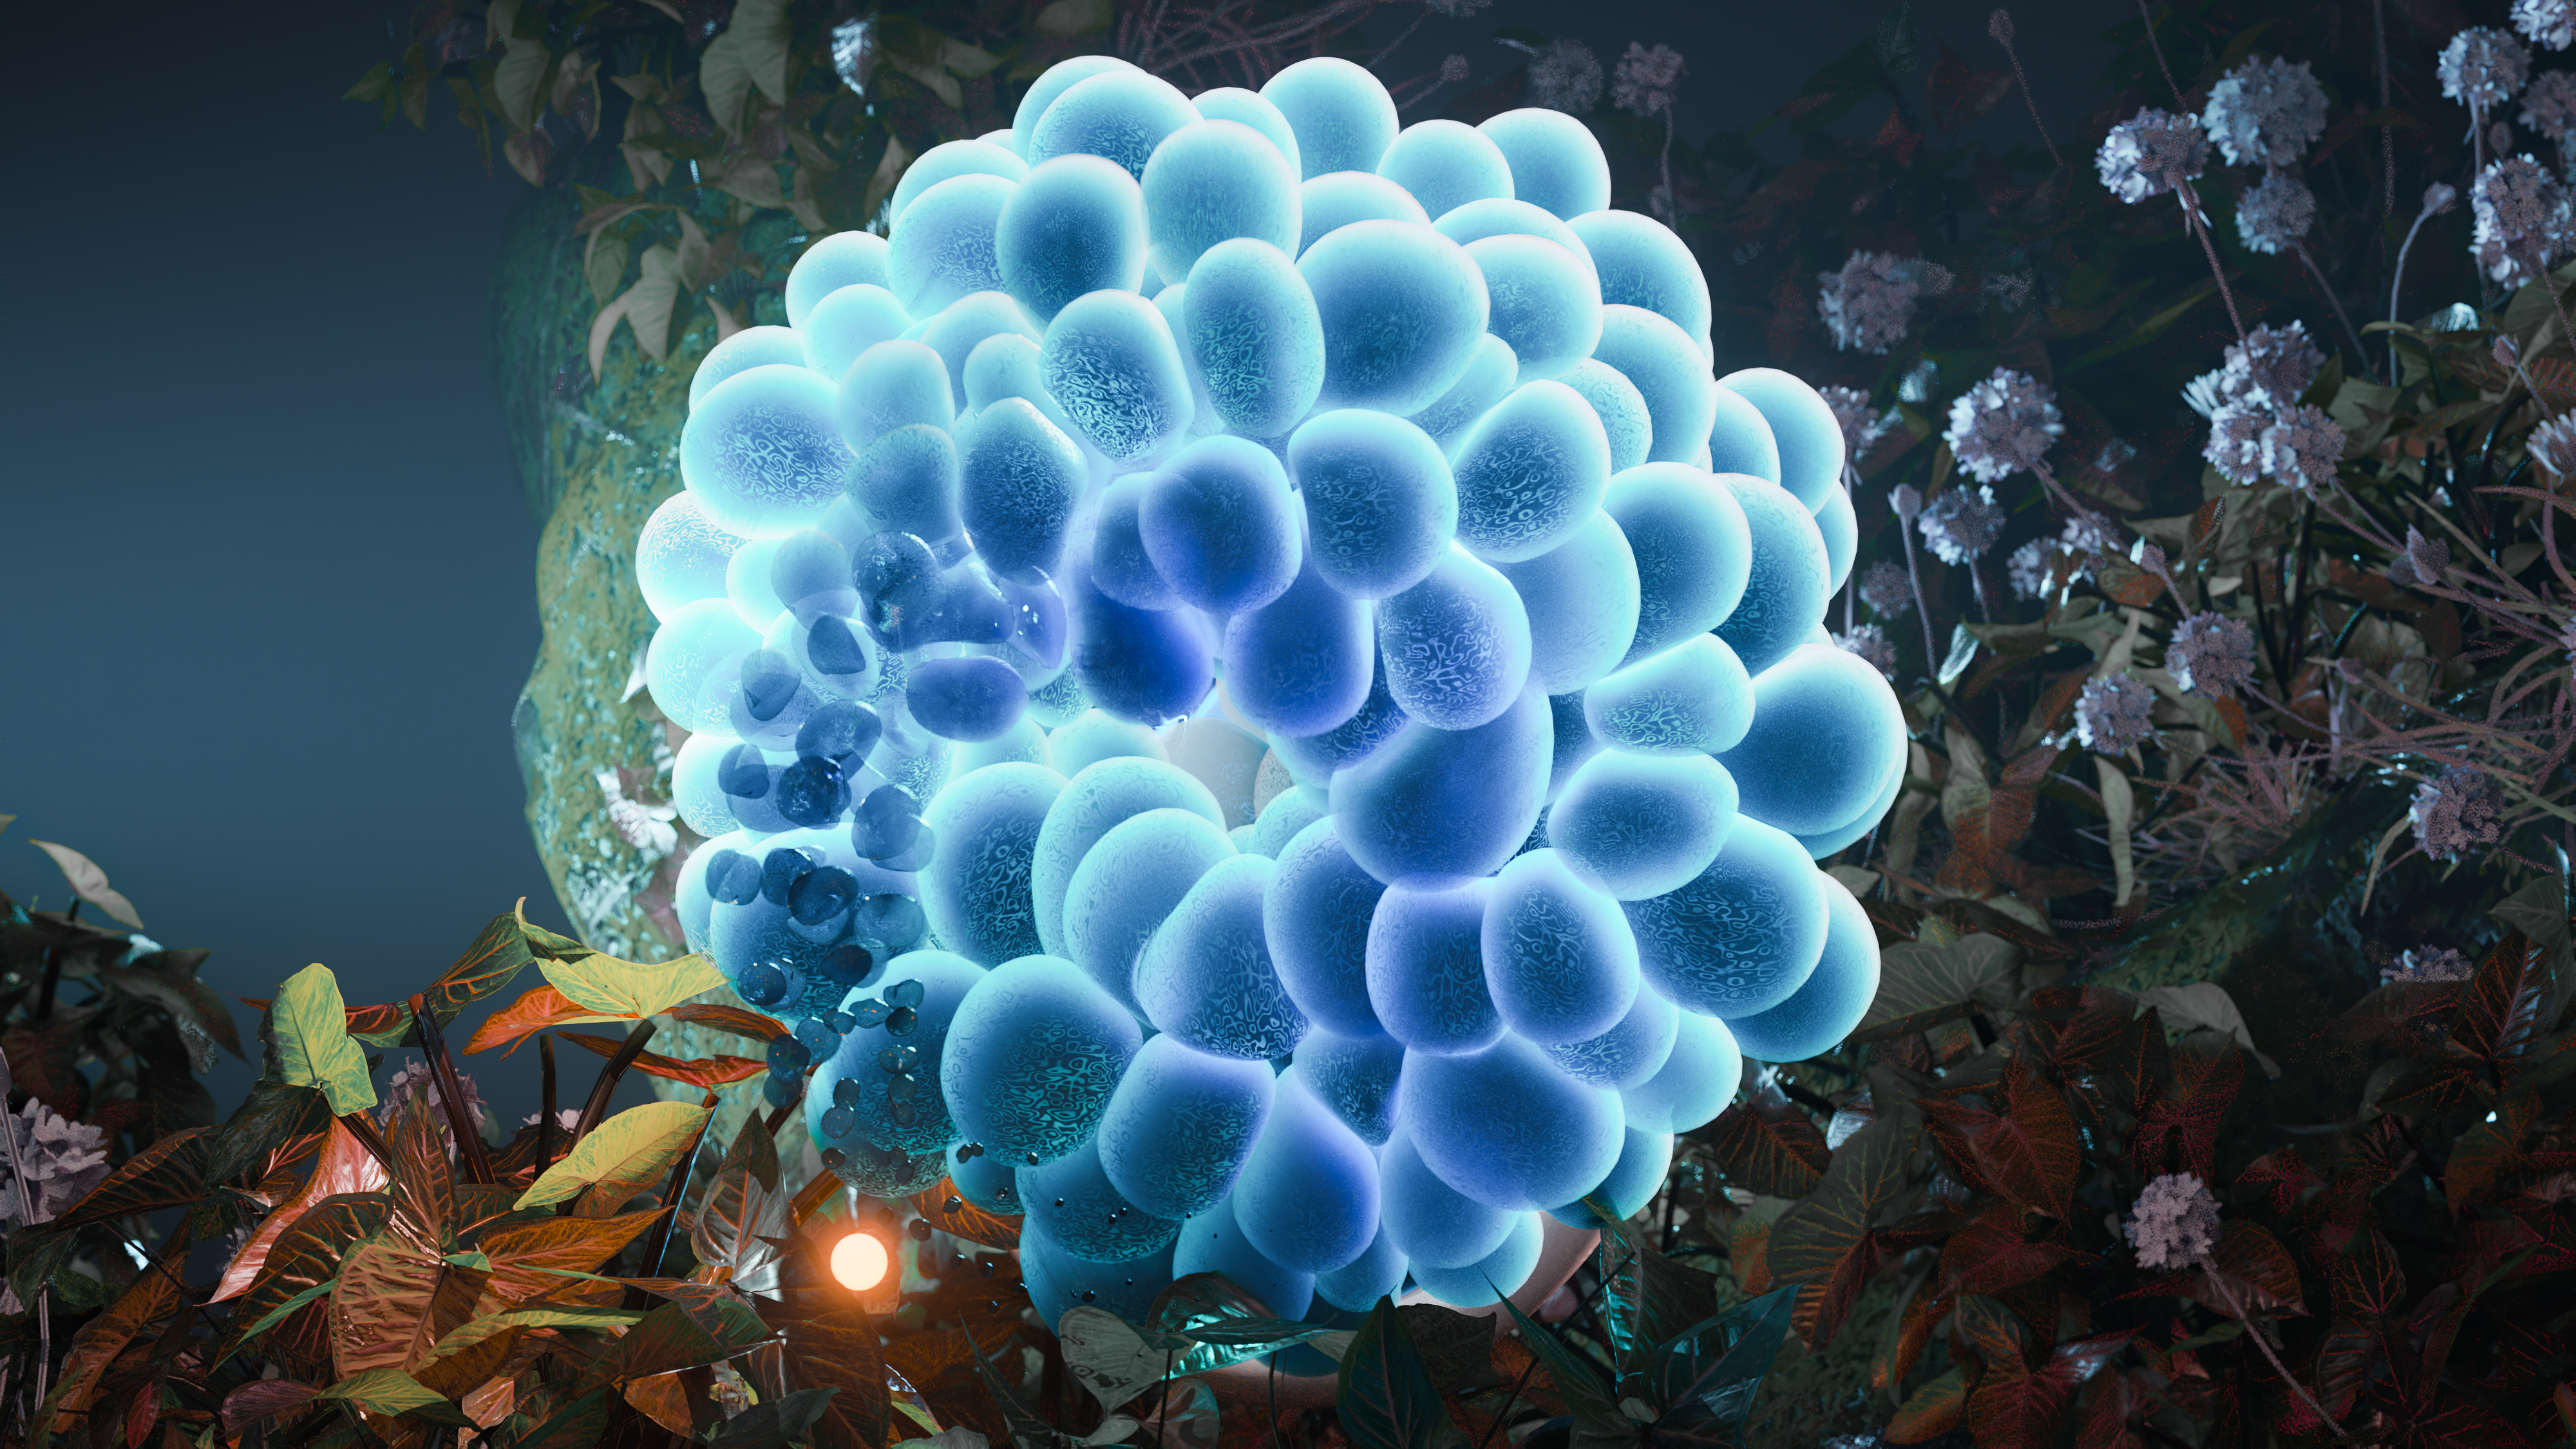
I recently had the opportunity to flex my creative muscles and explore new possibilities in a personal project. With complete freedom to experiment and create, I decided to dive into the world of traditional flip solver in Houdini.
To achieve my desired simulation results, I went deep into the DOP network and created two separate POPVOPS. These allowed me to calculate both the velocity and age of the particles inside the simulation, giving me greater control over the viscosity behavior of the water, or flip in this case.
With these powerful tools at my disposal, I was able to fine-tune the parameters of the simulation to achieve two different viscosity behaviors, each with its own unique characteristics. This level of control allowed me to create stunning visual effects that were both dynamic and highly realistic.
But the benefits didn't end there - I was also able to leverage these attributes in my shader, giving me even more creative freedom to experiment with different materials and textures. By incorporating these attributes into my workflow, I was able to achieve a level of detail and realism that truly set my work apart.
To mesh the particles I used the VDB techniques and then I transferred the UVs from the static final version of the mesh to the moving flip solve. This way I had the correct UVs to create any kind of detail achieved with textures in the flip solve.
After completing the complex simulation and meshing work, I turned to post-production to put the finishing touches on the final video. To create a smooth and seamless transition effect, I used a simple mask in After Effects, which allowed me to easily control the transition between different parts of the video.
With the transition effect in place, I was able to focus on fine-tuning the final edit, adjusting colors, adding sound effects, and making any necessary tweaks to ensure a smooth and engaging viewing experience.
Despite the simplicity of the post-production work, the final video was a testament to the power of combining advanced simulation and modeling techniques with careful attention to detail in editing and post-production. It was a true labor of love, and I am incredibly proud of the final result.
Thank you for your attention.
